OpenXSwitch Sandbox Environment
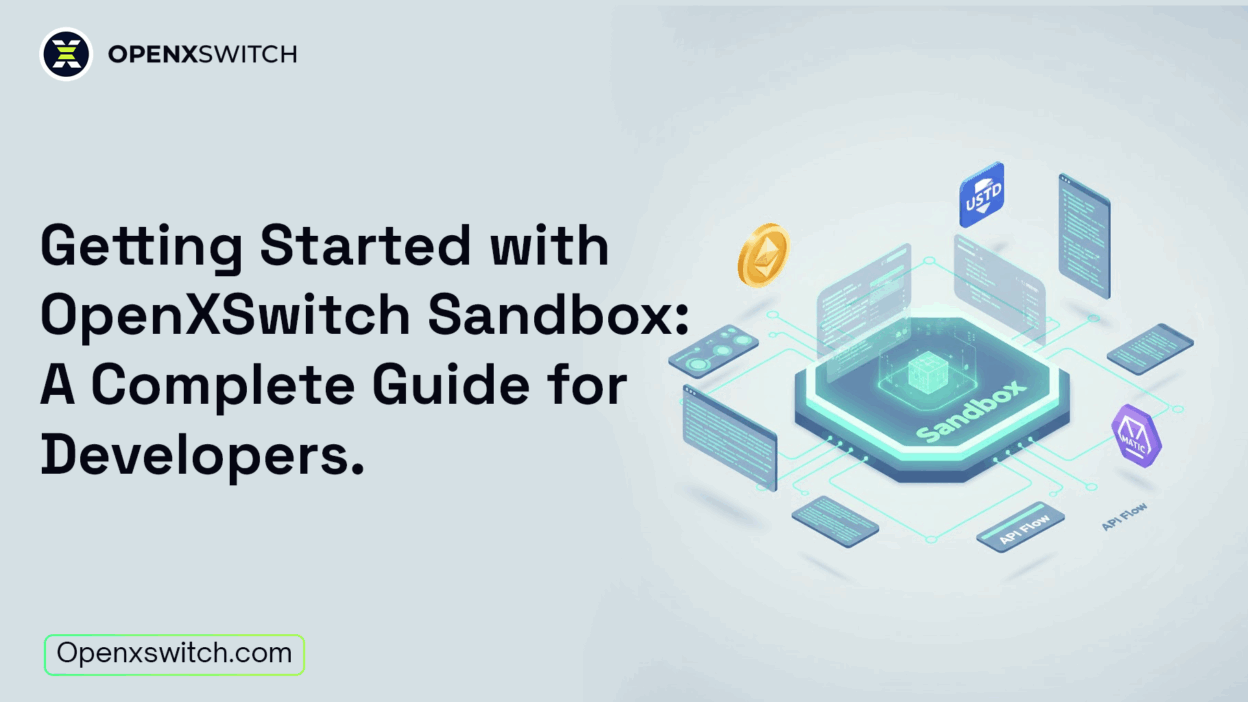
The OpenXSwitch Sandbox is a simulated environment that mirrors the live platform. It allows you to test API endpoints, webhooks, and transaction flows without any real blockchain interaction.
Why Use the Sandbox Environment?
(Key Features & Benefits for Developers)
Here’s why developers love the OpenXSwitch Sandbox:
- 🧪 No real funds needed – test everything safely.
- ⚡ Instant responses – webhook events are sent to your test URL in real time.
- 🧩 No setup stress – you don’t need test tokens or unreliable faucets.
- 💸 No subscription required – just plug in and start testing.
- 🧠 No Web3 experience needed – designed for both Web2 and Web3 developers.
- 🌍 API parity with live mode – all key endpoints have sandbox equivalents.
Prerequisites and Tools You’ll Need
To begin, you only need:
- An OpenXSwitch account
- Basic programming skills (any language that supports HTTP requests)
Understanding Live vs. Sandbox Mode
Almost every live API endpoint has a sandbox equivalent with the prefix:
/v1/sandbox/...Example:
- Live →
https://api.openxswitch.com/v1/wallet/create - Sandbox →
https://api.openxswitch.com/v1/sandbox/wallet/create
👉 To view all available sandbox endpoints, scroll to the bottom of our API documentation.
There’s currently no SandBox UI. All actions are performed via API.
How to Get Started
You can get access in one of three ways:
- Fill the Get Started form on our website
- Send an email to sales@openxswitch.com
- Or book a time here to talk with our team
A dedicated Account Manager will reach out within 12 hours to guide you through setup.
Once you have access, follow these steps 👇
Step 1: Obtain Your API Key
- Log in to your OpenXSwitch Dashboard
- Navigate to API Keys
- Click Create API Key, then copy your key
⚠️ Important Notes:
- Sandbox keys work only with sandbox endpoints.
- Live keys will not work in Sandbox.
👉 See API Permission details.
Step 2: Set Up Your Webhook
Webhooks allow your app to receive real-time updates for deposits, withdrawals, and swaps.
- Go to Dashboard → Webhooks
- Add your Webhook URL
- Test it using sandbox events
👉 Learn more in our Webhook Setup Guide.
Creating and Managing Wallets
Prime Wallet
You don’t need to create one; it’s automatically generated during onboarding.
Sub-Wallets
Sub-wallets can currently be created only via API (Dashboard support coming soon).
Endpoint:
POST /v1/sandbox/sub-wallet/create
Request Example:
{
  "email": "test@openxswitch.com",
  "name": "test1",
  "clientUserId": "......."
}
Learn more: Sub-wallets on OpenXSwitch a game-changer for business growth
Generating Blockchain / Deposit Addresses
Before generating a deposit address, you’ll first need to fetch the list of supported currencies.
Step 1: Retrieve Supported Rechargeable Currencies
Endpoint:
GET /v1/mix/currency/recharge
Request Example:
{
  "success": true,
  "data": [
    {
      "coin": "USDT",
      "iconUrl": "https://cdn.openxswitch.com/public/logos/svg/usdt.svg",
      "chains": [
        {
          "chain": "ERC20",
          "needTag": "false",
          "depositConfirm": "12",
          "withdrawConfirm": "64",
          "minDepositAmount": "0.001",
          "minWithdrawAmount": "10",
          "txUrl": "https://etherscan.io/tx/"
        }
      ]
    }
  ],
  "totalPage": 0,
  "pageNo": 0,
  "pageLimit": 0
}
Each currency has a list of supported chains.
Coin = Asset (e.g. USDT)
Chain = Network the coin runs on (e.g. ERC20, TRC20, BEP20)
✅ Use this information for deposit, withdrawal, and instant-swap endpoints.
Step 2: Create a Deposit Address via API
Endpoint:
POST /v1/sandbox/sub-wallet/address
Request Example:
{
  "subWalletId": ".........",
  "coin": "USDT",
  "chain": "ERC20"
}
Response Example:
{
  "success": true,
  "data": {
    "coin": "USDT",
    "chain": "ERC20",
    "address": "0x123456789abcdef..........",
    "tag": "Memo123"
  }
}
Testing Deposits
OpenXSwitch Sandbox provides a deposit simulation endpoint; this sends a mock webhook event to your configured URL.
Endpoint:
POST /v1/sandbox/sub-wallet/deposit
Request Example:
{
  "destination": "on_chain",
  "status": "success",
  "coin": "USDT",
  "amount": "100",
  "chain": "ERC20",
  .....
  .....
}fromAddressandtoAddress→ required for on-chain depositsfromWalletIdandtoWalletId→ required for internal transfers
A dummy webhook event will be sent to your webhook URL.
👉 See sample webhook payloads here.
Trading API / Instant Swap
To use Instant Swap or Trading APIs, you first need to enable trading on a wallet/sub-wallet.
You have two options for activating a sub-wallet:
- During creation – use the canTrade property when creating a sub-wallet to enable trading immediately.
- After creation – use the Activate Trade Endpoint to enable trading for an existing sub-wallet.
Note: For Prime Wallet, trading must be activated manually;
More updates on the Trading API are coming soon!
Going Live
When you’re ready for production:
- Generate a Live API Key in your dashboard.
- Replace
/sandbox/with the live endpoint.
Example:
Sandbox → https://api.openxswitch.com/v1/sandbox/...
Live → https://api.openxswitch.com/v1/...
That’s it; you’re live 🚀
Automation & Collection Rules
If you want to auto-move funds whenever a deposit is made, you can configure automation rules in your dashboard.
👉 See Automation Setup Guide for details.
Monitoring and Debugging
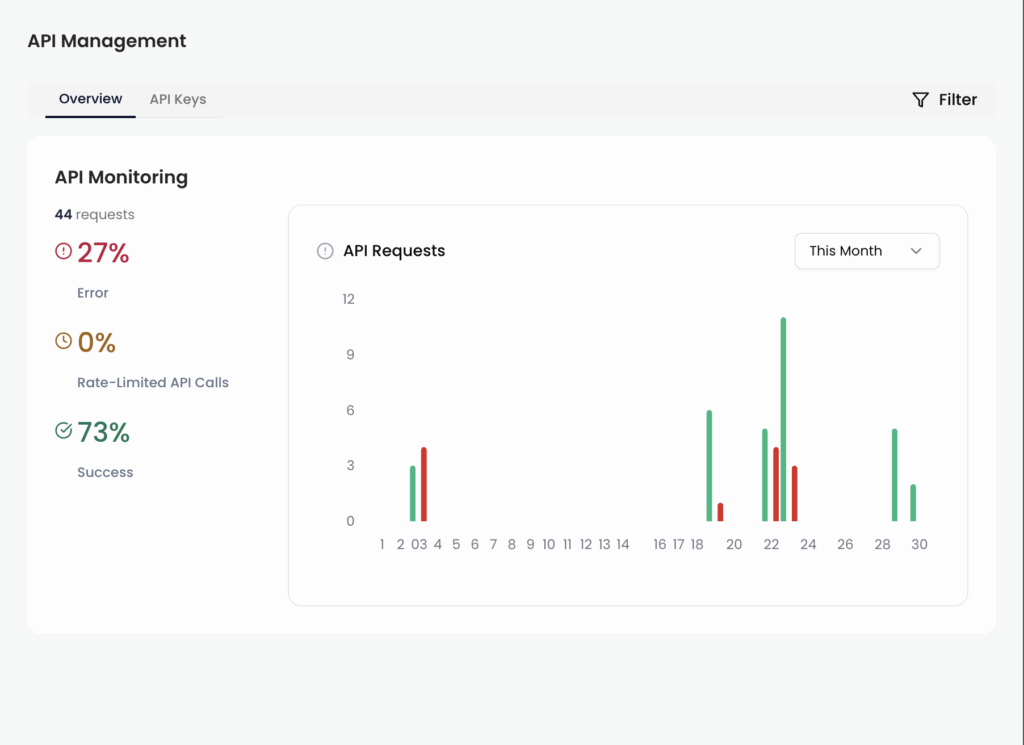
Keep your integration stable with built-in monitoring tools:
- 📊 API Logs – tracks every request and response
- 🔔 Webhook Logs – confirms events were delivered successfully
Developer Resources
- 📘 Full API Reference
- 💬 Developer Community @OpenXSwitch
- 🧑💻 Support: support@openxswitch.com
Final Thoughts
The OpenXSwitch Sandbox is built to make developer testing fast, easy, and realistic; without dealing with blockchain complexity.
Start small, experiment, and when you’re ready… just remove /sandbox/ and go live!
